
Various actions with quote/ proposal items
Once you have created your first proposal item, you can copy it, move it, accept it, create tasks from it, or delete it.
Copy or Move
You can copy a proposal item within the same proposal or project, or copy or move it to another one. Select the checkboxes beside the proposal items, then click "Actions" above the list.
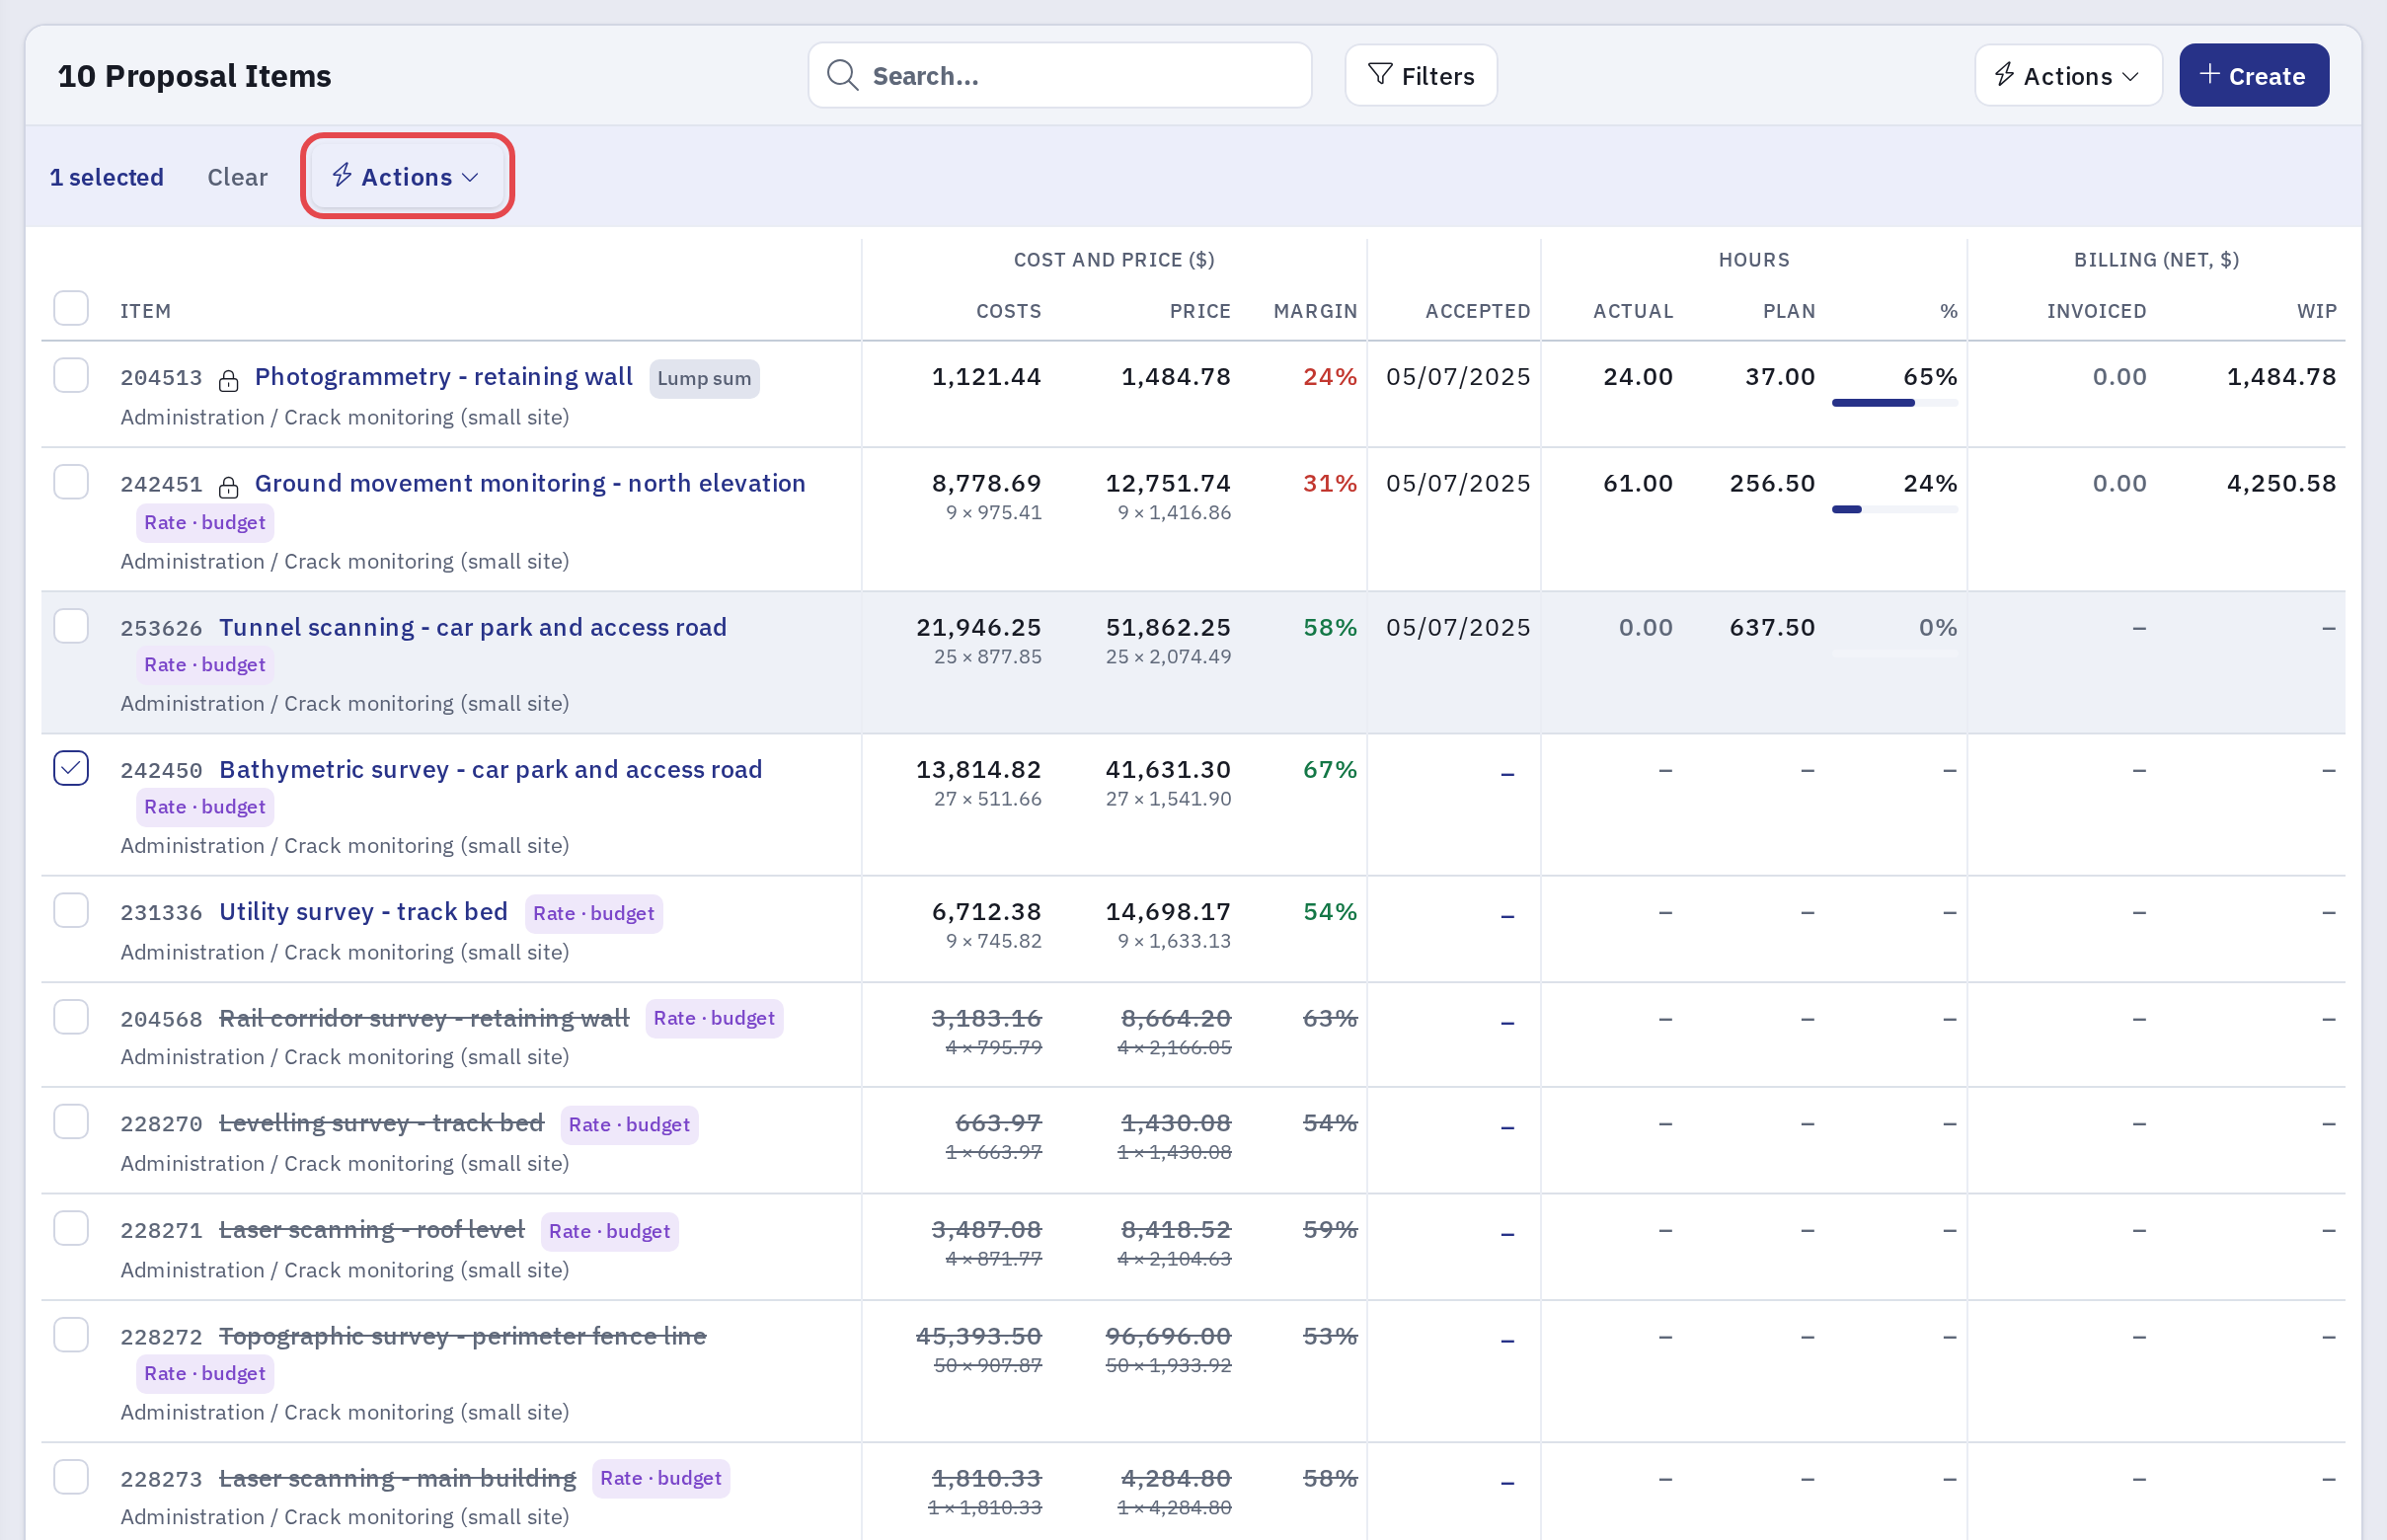
Then select "Copy" or "Move".
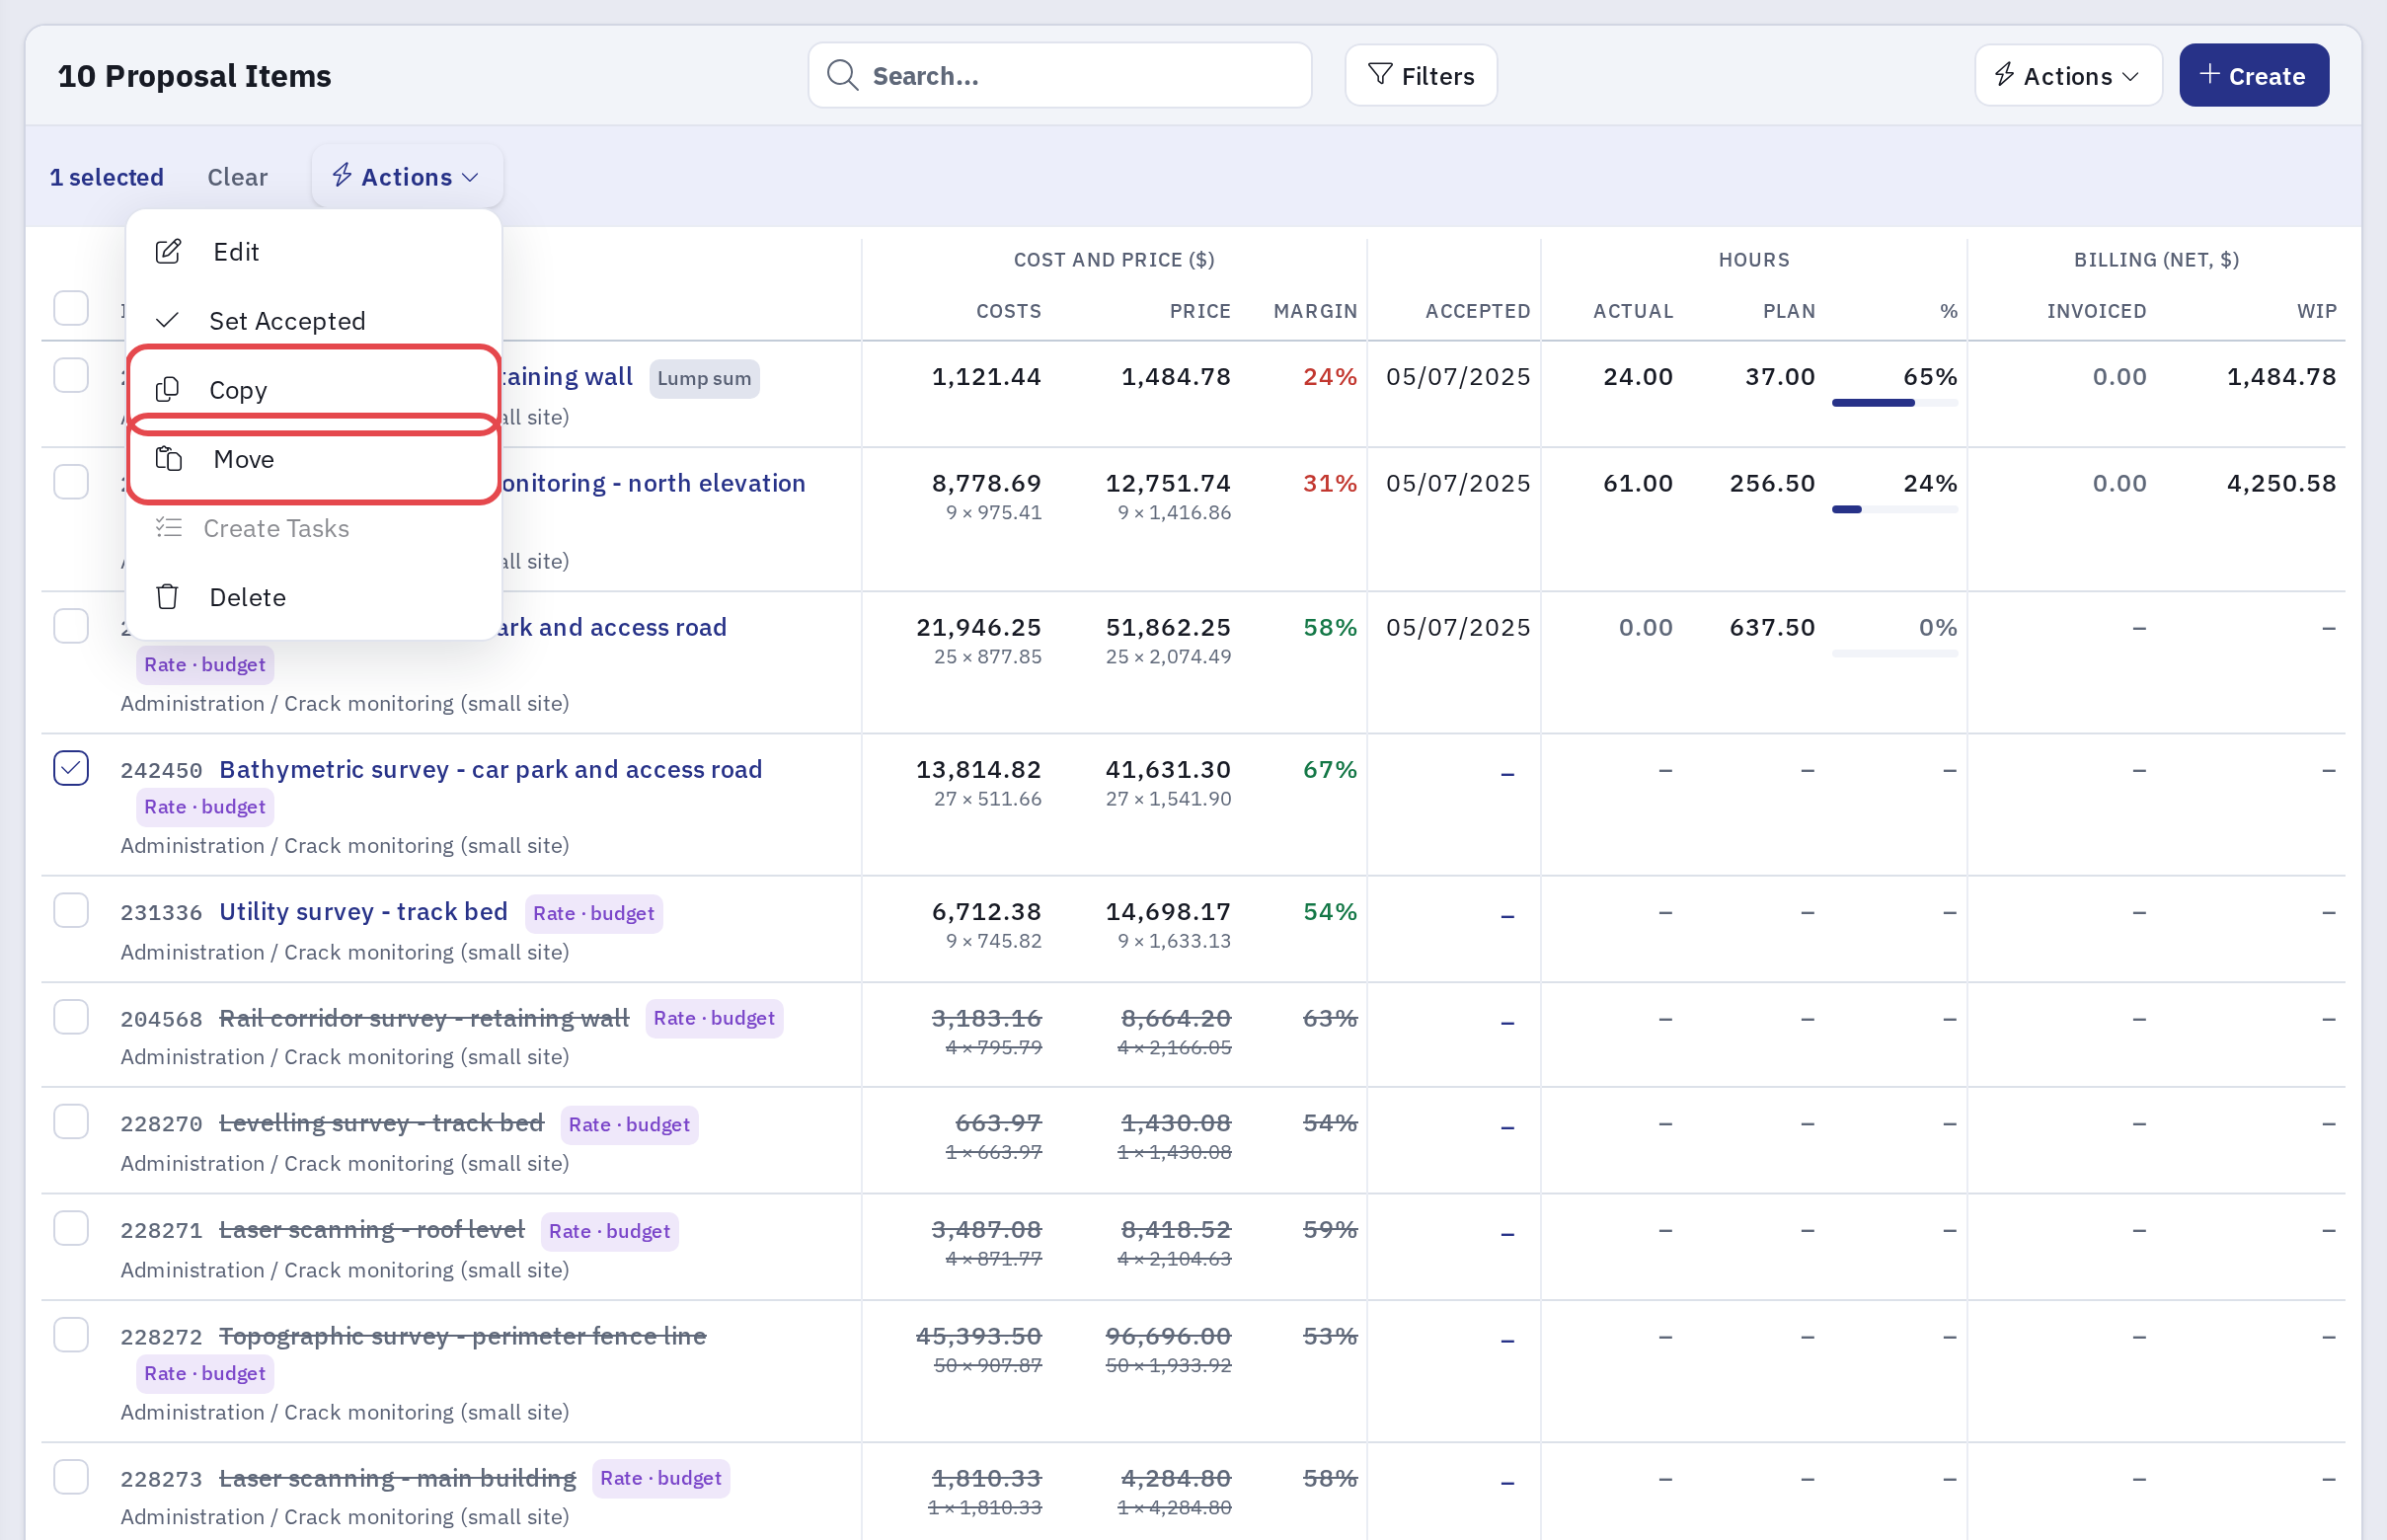
By default, the copy dialog targets the same project. To copy to another proposal or project, tick "Copy to a different proposal or project" and choose the target. To move, choose the project to move the items to. The current project is not offered as a move target.
Set Accepted
To accept a proposal, select at least one proposal item and choose "Set Accepted" from the "Actions" menu.
Complete the "Set accepted" form. The selected items are ticked in the list at the top of the dialog; untick any that should not be accepted.
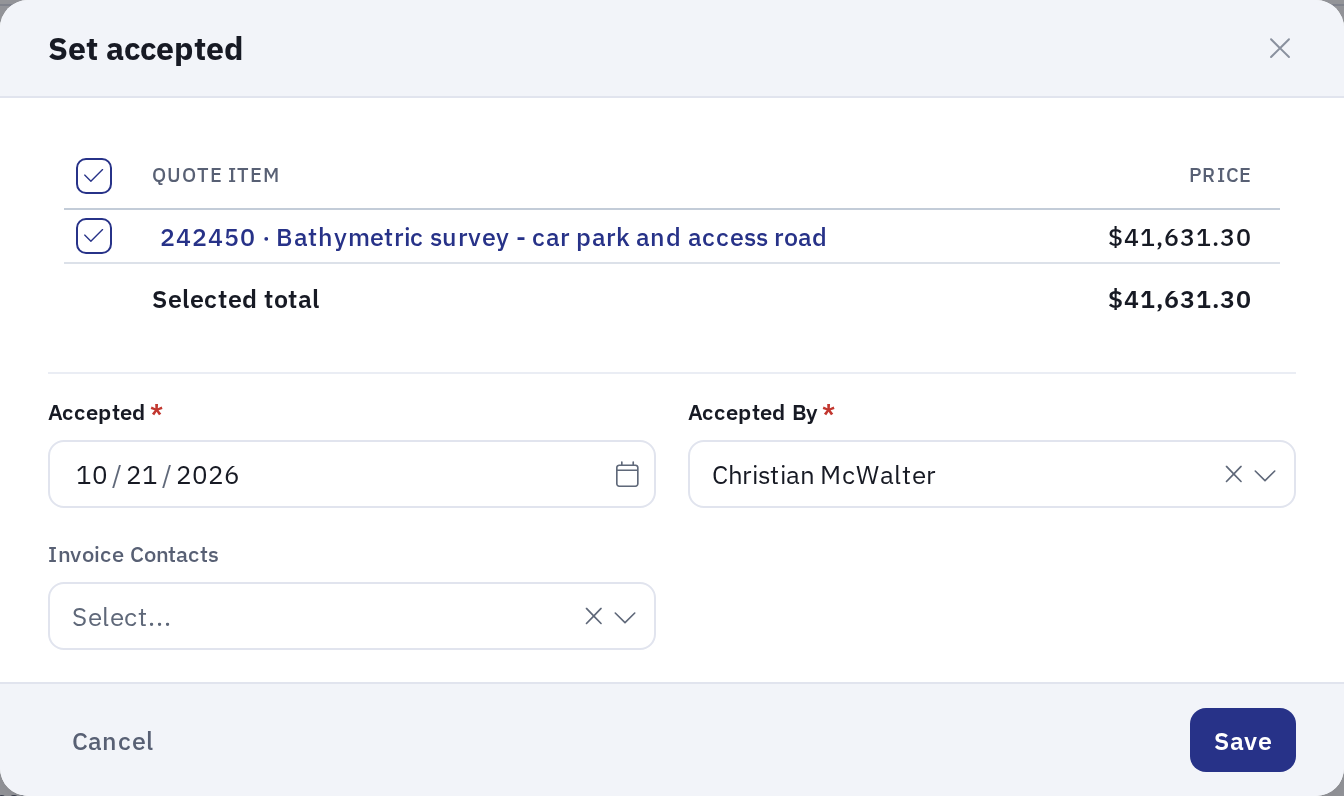
Some fields are filled in from the project and hidden when the project already holds a value. Proposal Submitted, Expected Award Date, Project Manager, Client Project Manager and Deadline appear only when the project does not already have them. Order Confirmation appears only when your organization has confirmation types set up and the project has no confirmation yet; Order Confirmation Details appears once you select a confirmation. Accepted and Accepted By always appear.
| NAME | DESCRIPTION | REQUIRED/ OPTIONAL |
| Proposal Submitted | Date the proposal was submitted. | Required when shown |
| Expected Award Date | Expected award date. | Required when shown |
| Accepted | Date the proposal was accepted. | Required |
| Accepted By | Client contact who accepted the proposal item. | Required |
| Order Confirmation | Type of confirmation, such as a purchase order or signed contract. | Optional |
| Order Confirmation Details | Further details about the confirmation. | Required when an order confirmation is selected. |
| Project Manager | The manager in your organization who will manage the project. | Required when shown |
| Client Project Manager | Client contact who is managing the project. | Required when shown |
| Deadline | Deadline for all works to be completed. | Required when shown |
| Invoice Contacts | Contacts who receive invoices for the accepted work. | Optional |
Remove Acceptance
To remove a previous acceptance, select the accepted proposal items and click "Actions", then "Set Accepted". In the dialog, you can change the available fields or click "Remove acceptance".
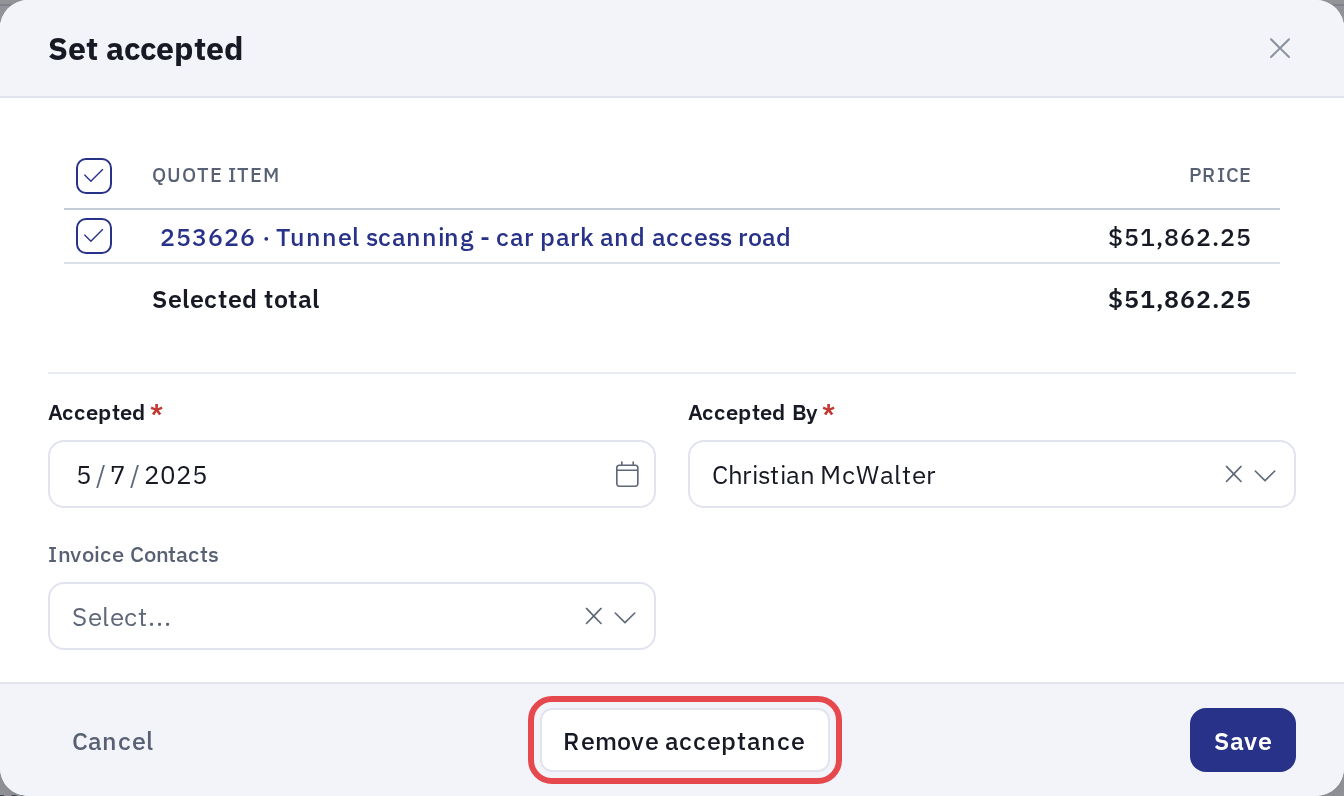
There are certain cases where you cannot remove an acceptance. Find out more on this FAQ article.
Create Tasks
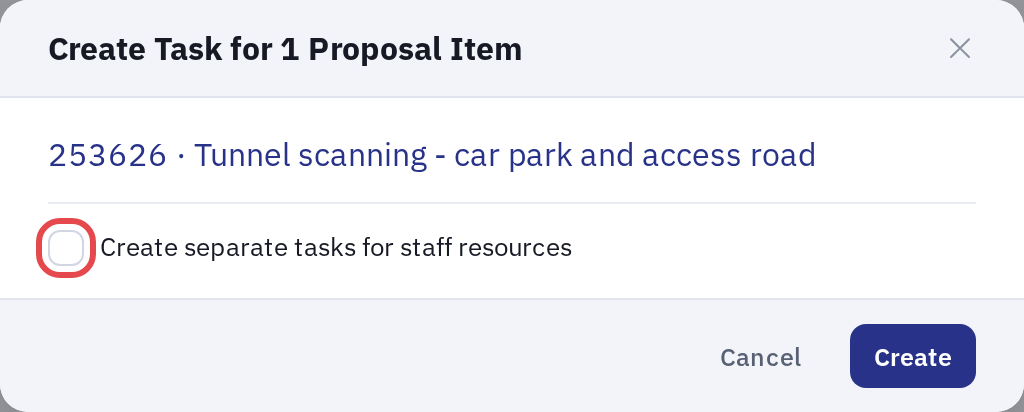
When a proposal item is accepted, you can create tasks from it so that you can schedule your employees. Select the accepted proposal items and click "Actions", then "Create Tasks".
Note: you can only create tasks from proposal items that are accepted and not closed. In the list, a child proposal item is indented under its parent, with an arrow to collapse or expand it. To find out more about proposal items, check here: Proposal Items.
In the dialog, choose whether to create a separate task for each staff resource on the item and, for child items, whether to prefix the parent name to the task name. When ready, click "Create".
If you create separate tasks, cost lines with the same resource name are combined first. A separate field task and office task are then created for that resource wherever it has a budget, so several cost lines can produce one task and one line can produce two. If you prefix the parent name, the child task name starts with the parent's name.
Delete
You can select the proposal items that you want to delete, click "Actions" and "Delete".
There are certain cases where you cannot delete a proposal item. Find out more on this FAQ article.