
Configuration: client and expense lists
The Configuration area is where you maintain the lists that the rest of Kompass uses, such as client categories, client types, tags and payment methods. You can do this without opening Kompass Admin. Configuration is only available in the new design.
Open Configuration
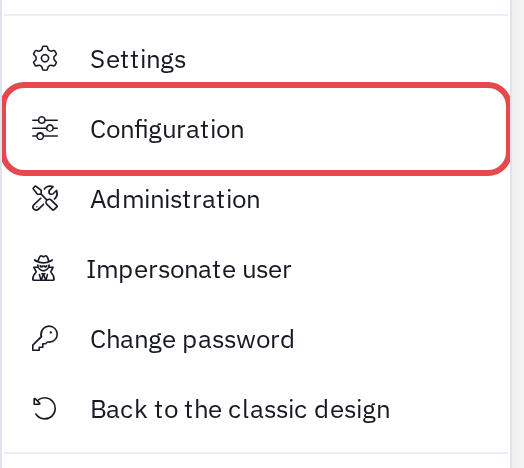
Open your user menu and choose Configuration.
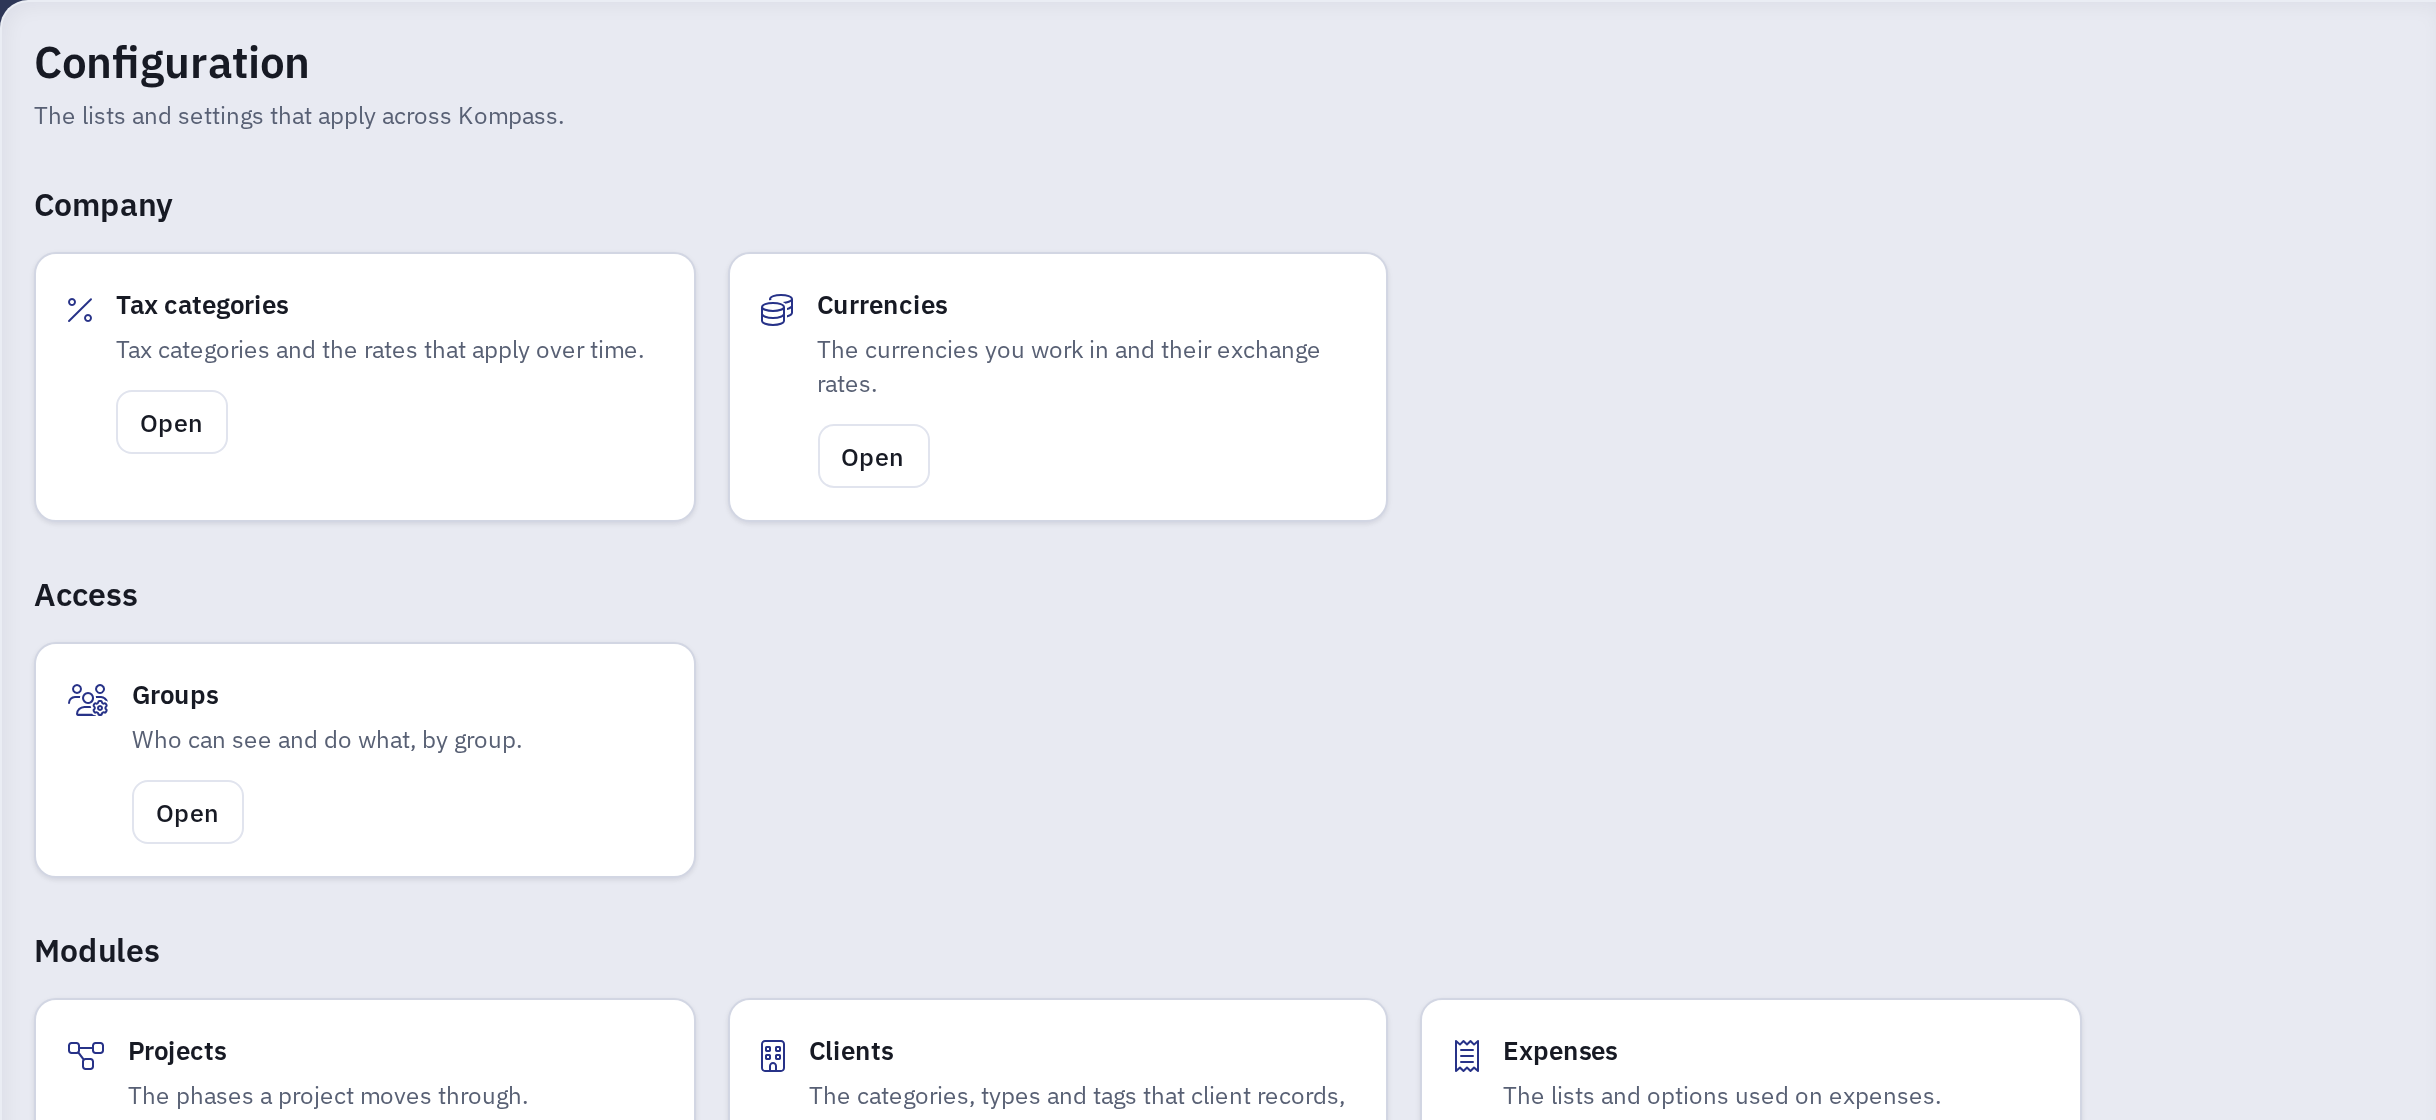
The overview shows a card for each section you can change, grouped under Company, Access and Modules. Choose Open on a card to go to that section. The Back button in the sidebar returns you to the page you came from.
Who sees Configuration: a section, and the Configuration entry in the user menu, appear only for users who can add, change or delete at least one of its lists. Users who can only view a list do not see it here, but they can still pick its values on records. Within a list, each action needs its own permission: New value needs add, editing needs change, deleting needs delete, and Import needs both add and change. To give someone access, add them to a group with these permissions. See Permissions reference.
Client lists
The Clients section holds the lists that client records, invoices, payments and sales orders are filed under:
- Client categories: the industry or sector of a client.
- Client types: how you rate a client, such as Key Client or Prospect.
- Client tags, Invoice tags, Payment tags and Sales order tags.
For what categories and types are for, see Unit 3 - Clients.
Choose a list with the buttons above the table. Each value shows its name, its start and end dates, and Usage, the number of records that use it. Types and tags also have a color.
If your Kompass site has more than one Org, categories and types also show the Orgs they are enabled for. A value is offered in pickers only in the Orgs it is enabled for, so a value with an empty Orgs column is not offered anywhere until you enable it for an Org.
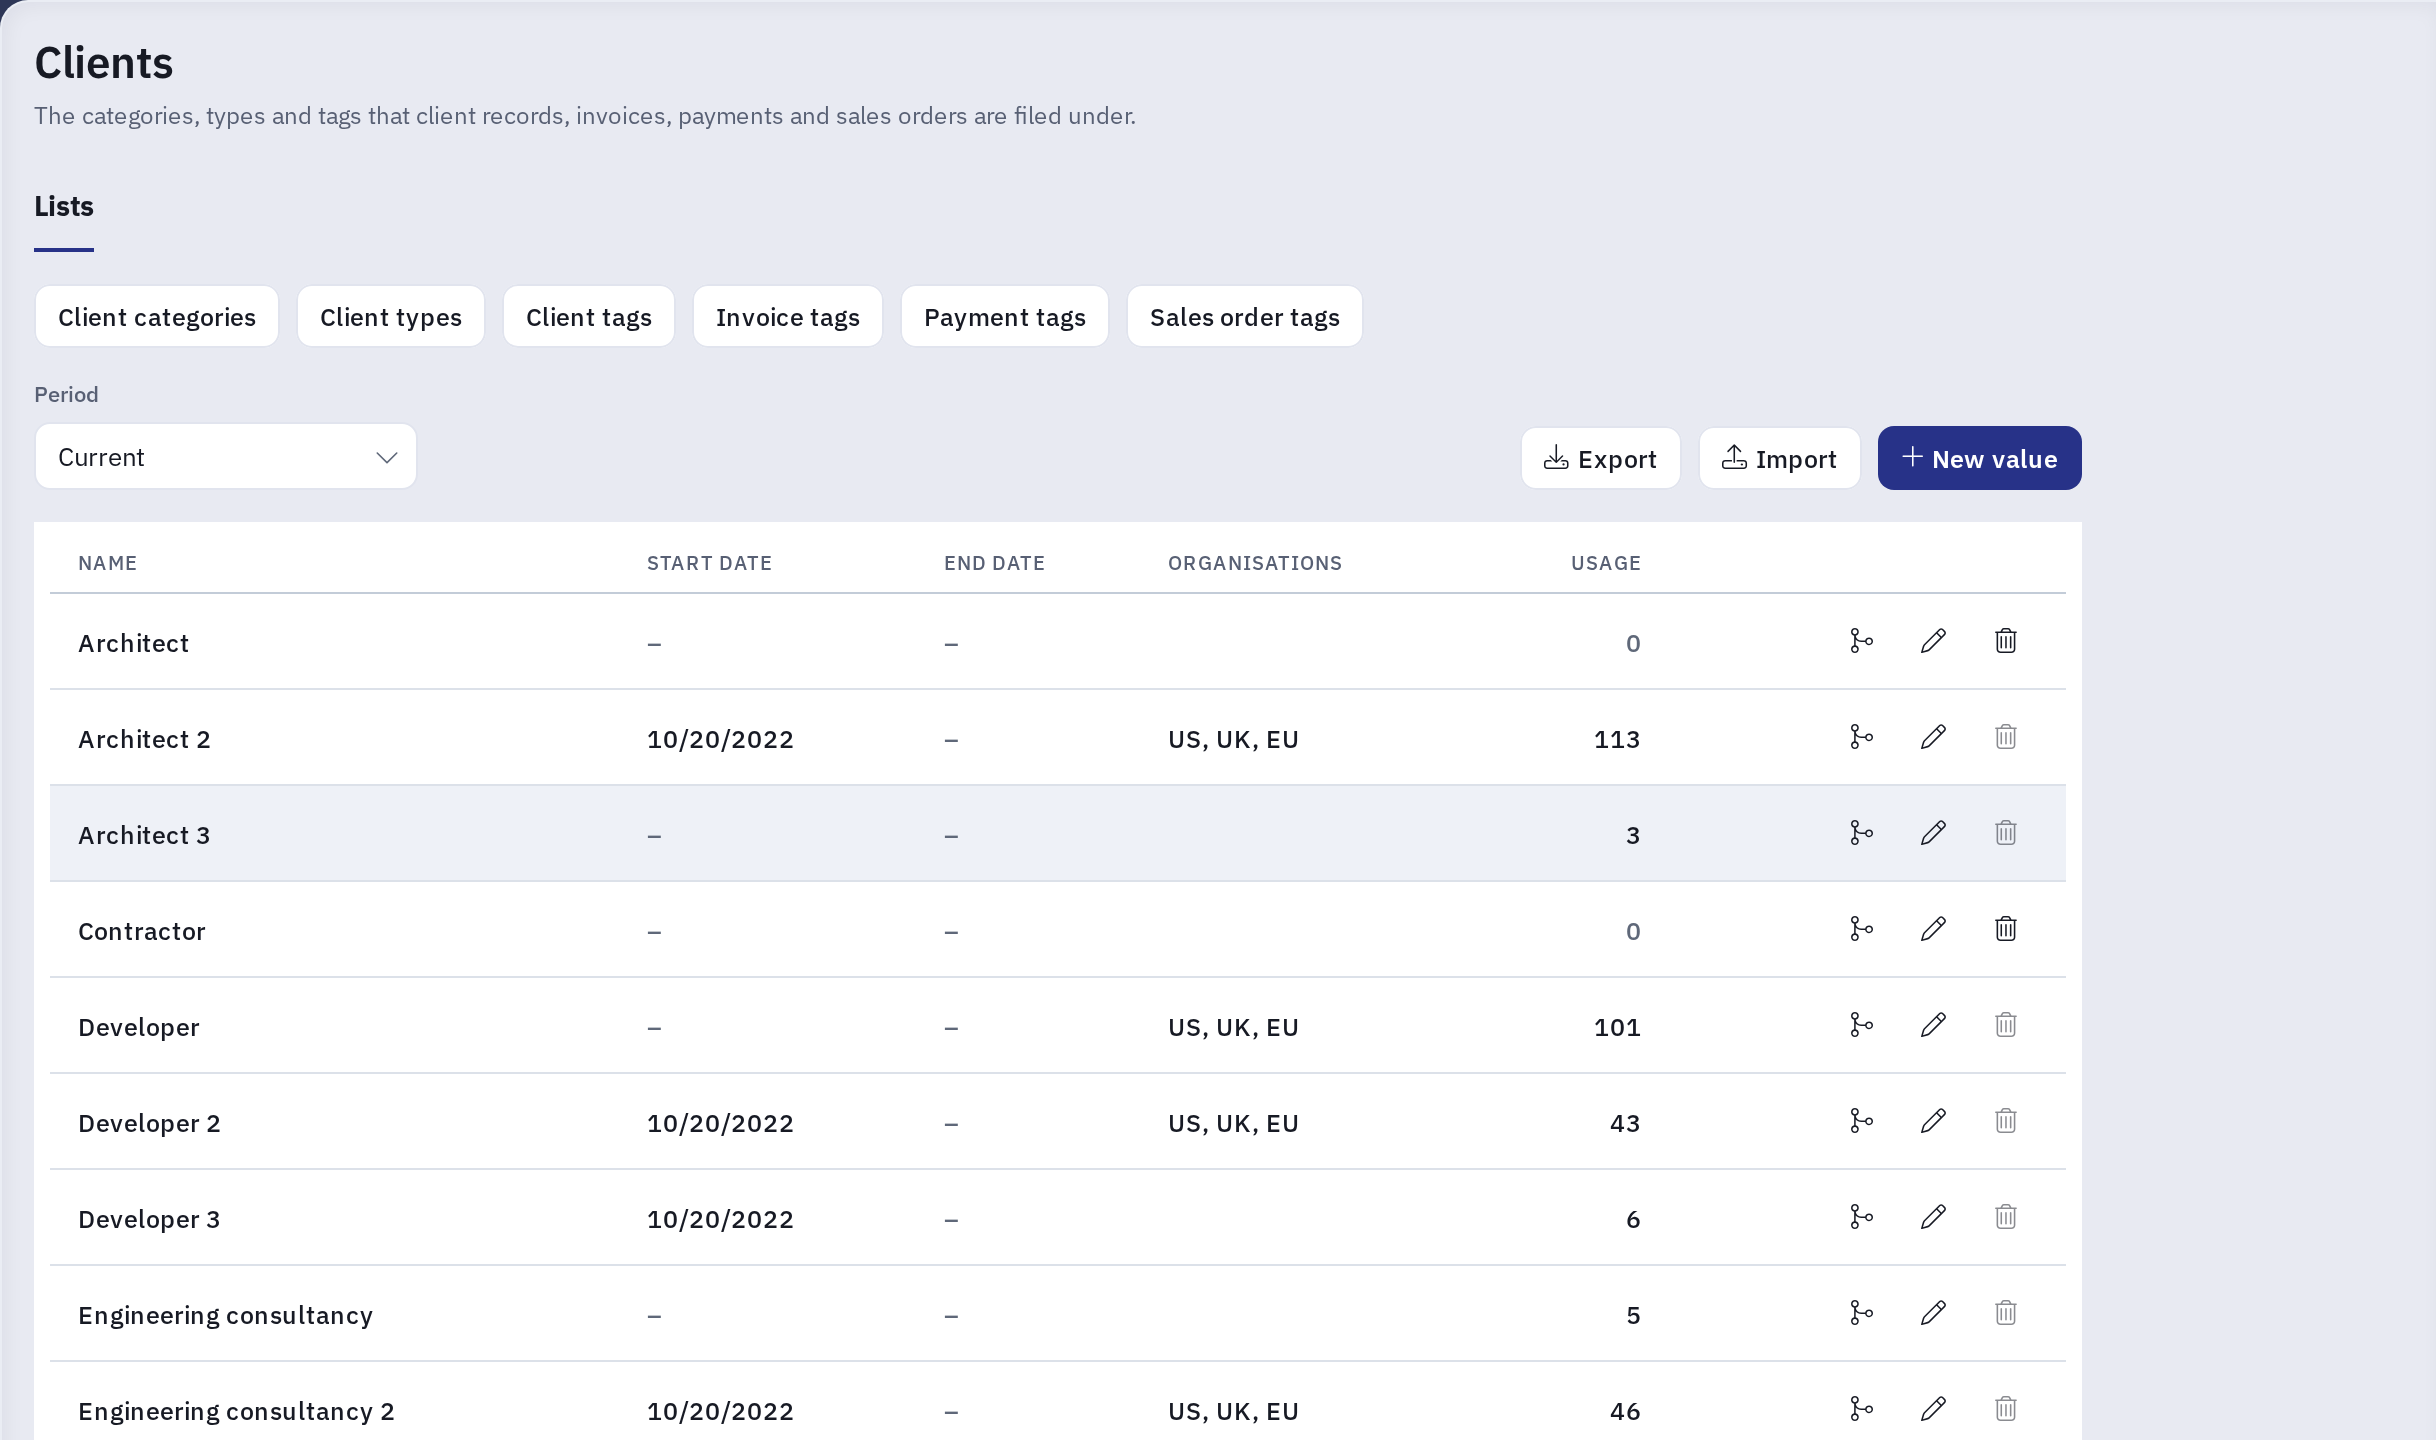
- New value adds a value. The edit button on a row changes its name, dates, color or Orgs.
- Use the Period filter to show Current values (the default), Ended values or All.
- The delete button only works for a value that no record uses. To retire a value that is in use, give it an end date instead. From the day after the end date, categories and types are no longer offered in pickers, and the records that use them keep them. A start date in the future hides a value until that date.
Tags are typed rather than picked from a list. Kompass suggests the tags already used on records, so a new tag appears in suggestions once someone has used it. Ending a tag does not stop anyone from typing it.
Merge duplicate values
When two values mean the same thing, such as "Retail" and "Retailers", merge them. Choose the merge button on the row of the value you want to remove, pick the value to keep under Merge into, and choose Merge. Every record that used the first value moves to the second, and the first value is then deleted. The kept value is also enabled for every Org the removed value was enabled for.
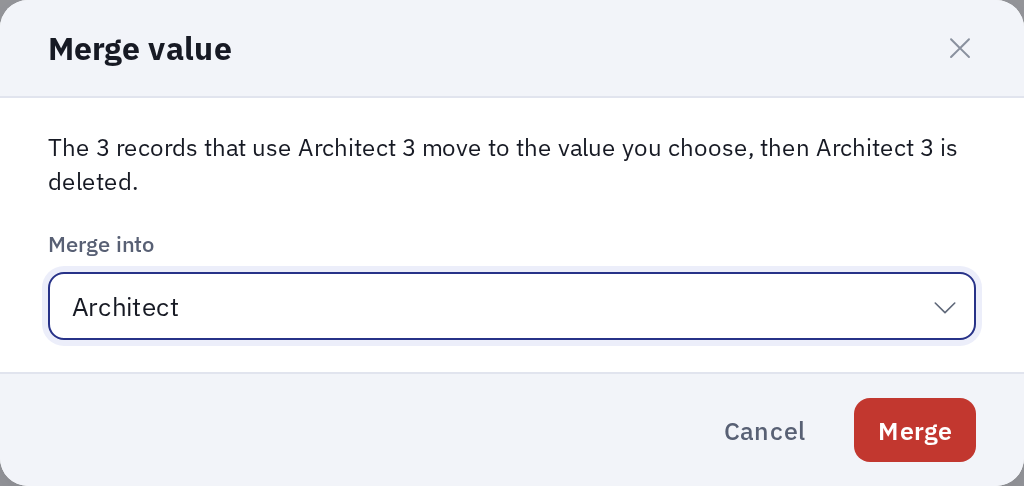
Merge into offers the values shown under the current Period filter. To merge an ended value into a current one, set the filter to All first.
Merging needs permission to both change and delete the list. A merge that moves many records runs in the background: reload the list after a few minutes to see the result. If an integration maps both values, the merge is refused until you remove one of the mappings.
Export and import
Export downloads the list, filtered by the current Period, as a CSV file. It is a good starting point for an import.
Import adds and updates values from a CSV file with the same columns: id, name, start and end, plus colour for types and tags. Only name is required.
- Choose Import and select your CSV file.
- Choose Check file. Kompass shows how many values it will create, update and leave unchanged, or lists the rows with problems. Nothing is saved at this step.
- If the check passes, choose Import.
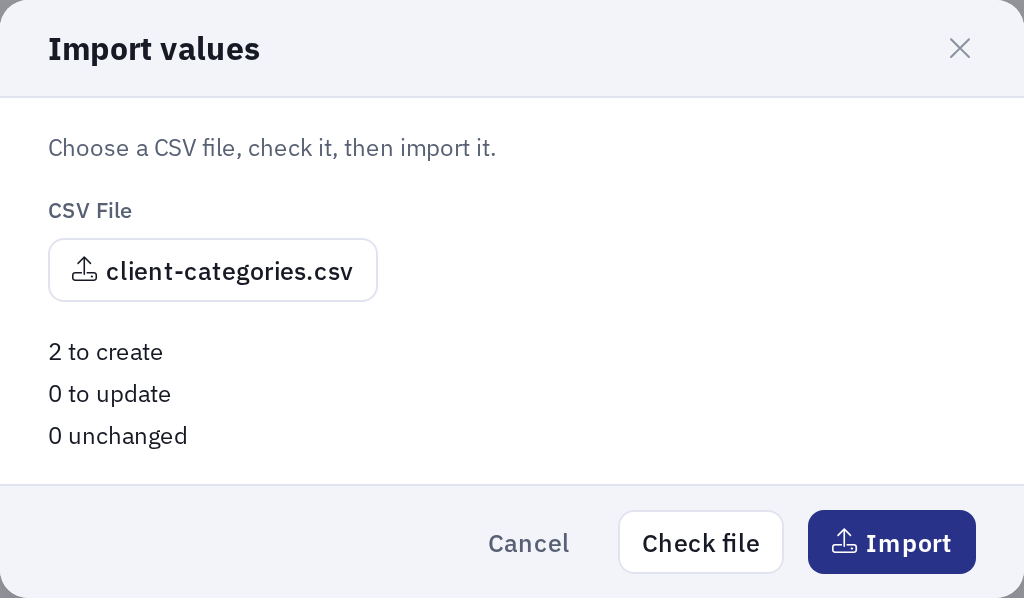
How rows are matched:
- A row is matched to an existing value by name, ignoring upper and lower case, and the matched value is updated with the row's dates and color. An empty cell clears that field.
- If no value has the row's name but its
idmatches an existing value, that value is renamed. Records that use it keep it under the new name. - A row that matches neither creates a new value.
- If two values share a name, include the
idto say which one the row is for.
To copy a list to another Kompass site, delete the id column from the exported file first. The IDs belong to the site you exported from, and on the other site they could rename unrelated values.
Payment methods
The Expenses section holds the payment methods, the options for how an expense was paid. Add, edit, end and delete them the same way as client lists. A payment method also has Details, a free-text description. If your site has more than one Org, the list shows the Orgs each payment method is enabled for. Payment methods cannot be merged, imported or exported.
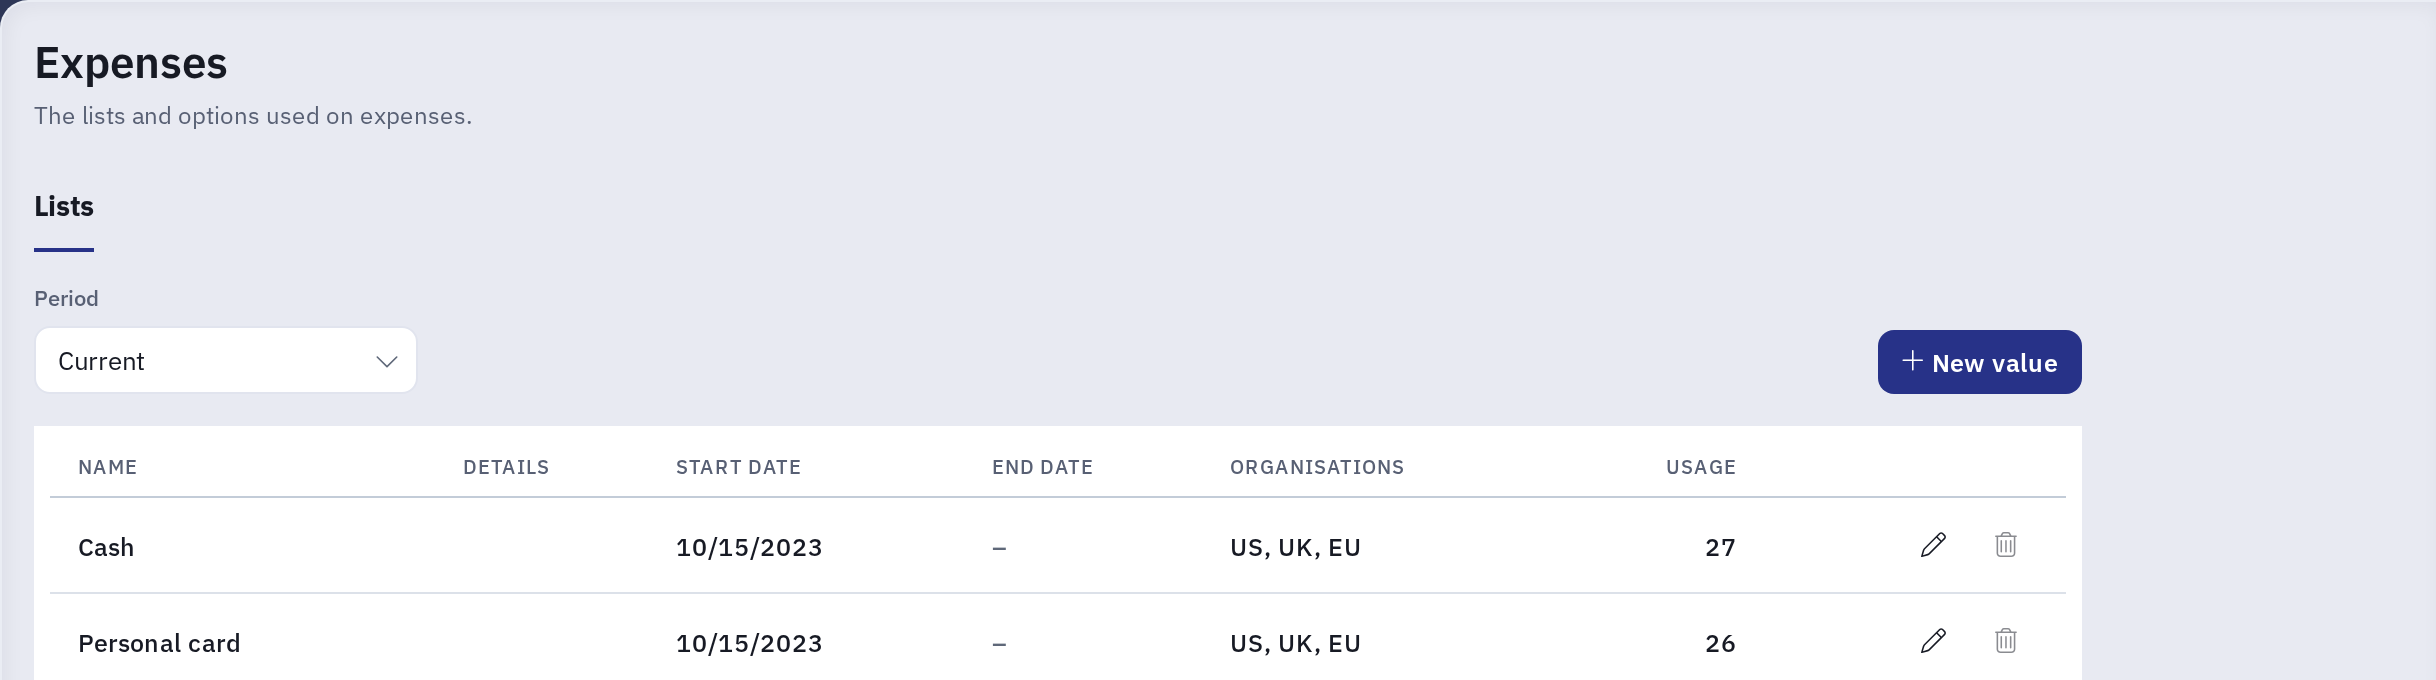
For expense types, see Unit 11 - Expenses.
From the client and expense lists
The Actions menu on the client list has Configure clients, and the one on the expense list has Configure expenses. Each opens the matching Configuration section, with a Back to button that returns you to the list. The menu item shows only to users who can add, change or delete at least one of the section's lists.
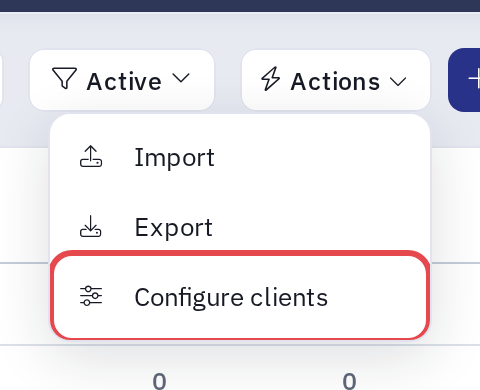
Kompass Admin
These lists can still be edited in Kompass Admin, but Configuration is the recommended place. Settings that are not in Configuration yet stay in Kompass Admin for now.