
Filter the schedule view
Go to the "Schedule" view and click the filter button next to the search bar.

The menu lists your saved filter sets and ends with "Configure filters". Choose it to open the Filters dialog.
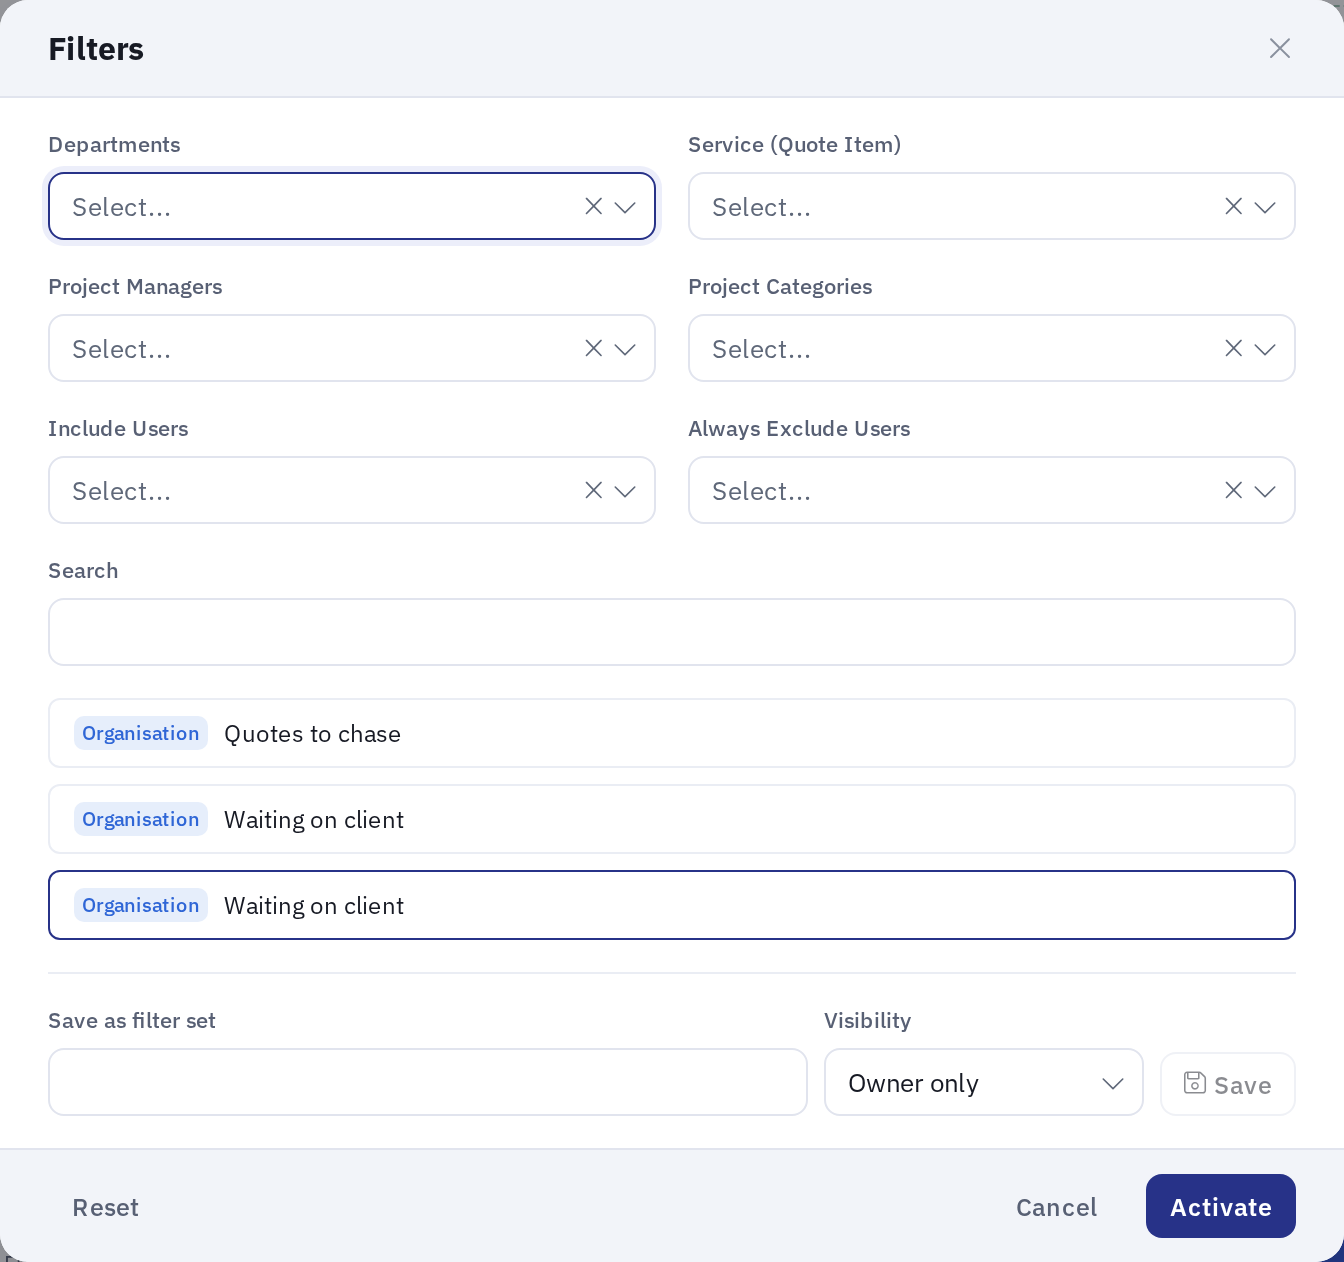
From the Filters dialog, you can carry out the following filtering actions:
- Filter Sets: Are you frequently using the same filters for your schedule? Save them as filter sets. See Reference, Filter Sets.
- Departments: Filters the data by department. You can select more than one through the drop-down menu.
Note: The filter will show:
- All employees who belong to the selected departments regardless of whether they are working on the selected department’s projects.
- All employees who are working on tasks whose proposal item belongs to the selected departments, regardless of whether they belong to the selected departments.
- Service (Quote Item): Filter by service. You can select more than one through the drop-down menu. This filter will return all projects on the selected services that have scheduled work.
- Project Managers: Filter by project managers. You can select more than one through the drop-down menu. This filter will return all projects that the selected project managers are managing and that have scheduled work.
- Project Categories: Filter by project category. You can select more than one through the drop-down menu. This filter will return all projects in the selected categories that have scheduled work.
- Include Users: Explicitly include certain users.
- Always Exclude Users: Explicitly exclude certain users.
- Search: Search by project or person.
The other schedule options are behind the settings button (cog) in the toolbar:
- Total days: This allows you to change the period reviewed on the schedule from 3 days up to 6 weeks.
Note: The schedule will be shrunk and expanded to fit your browser window. However, it will only shrink to a level that is still readable. Therefore, after a certain point (depending on your screen resolution), a horizontal scroll bar will appear at the bottom of the page to allow for easy navigation.
- Start calendar on: This sets the start day for the calendar.
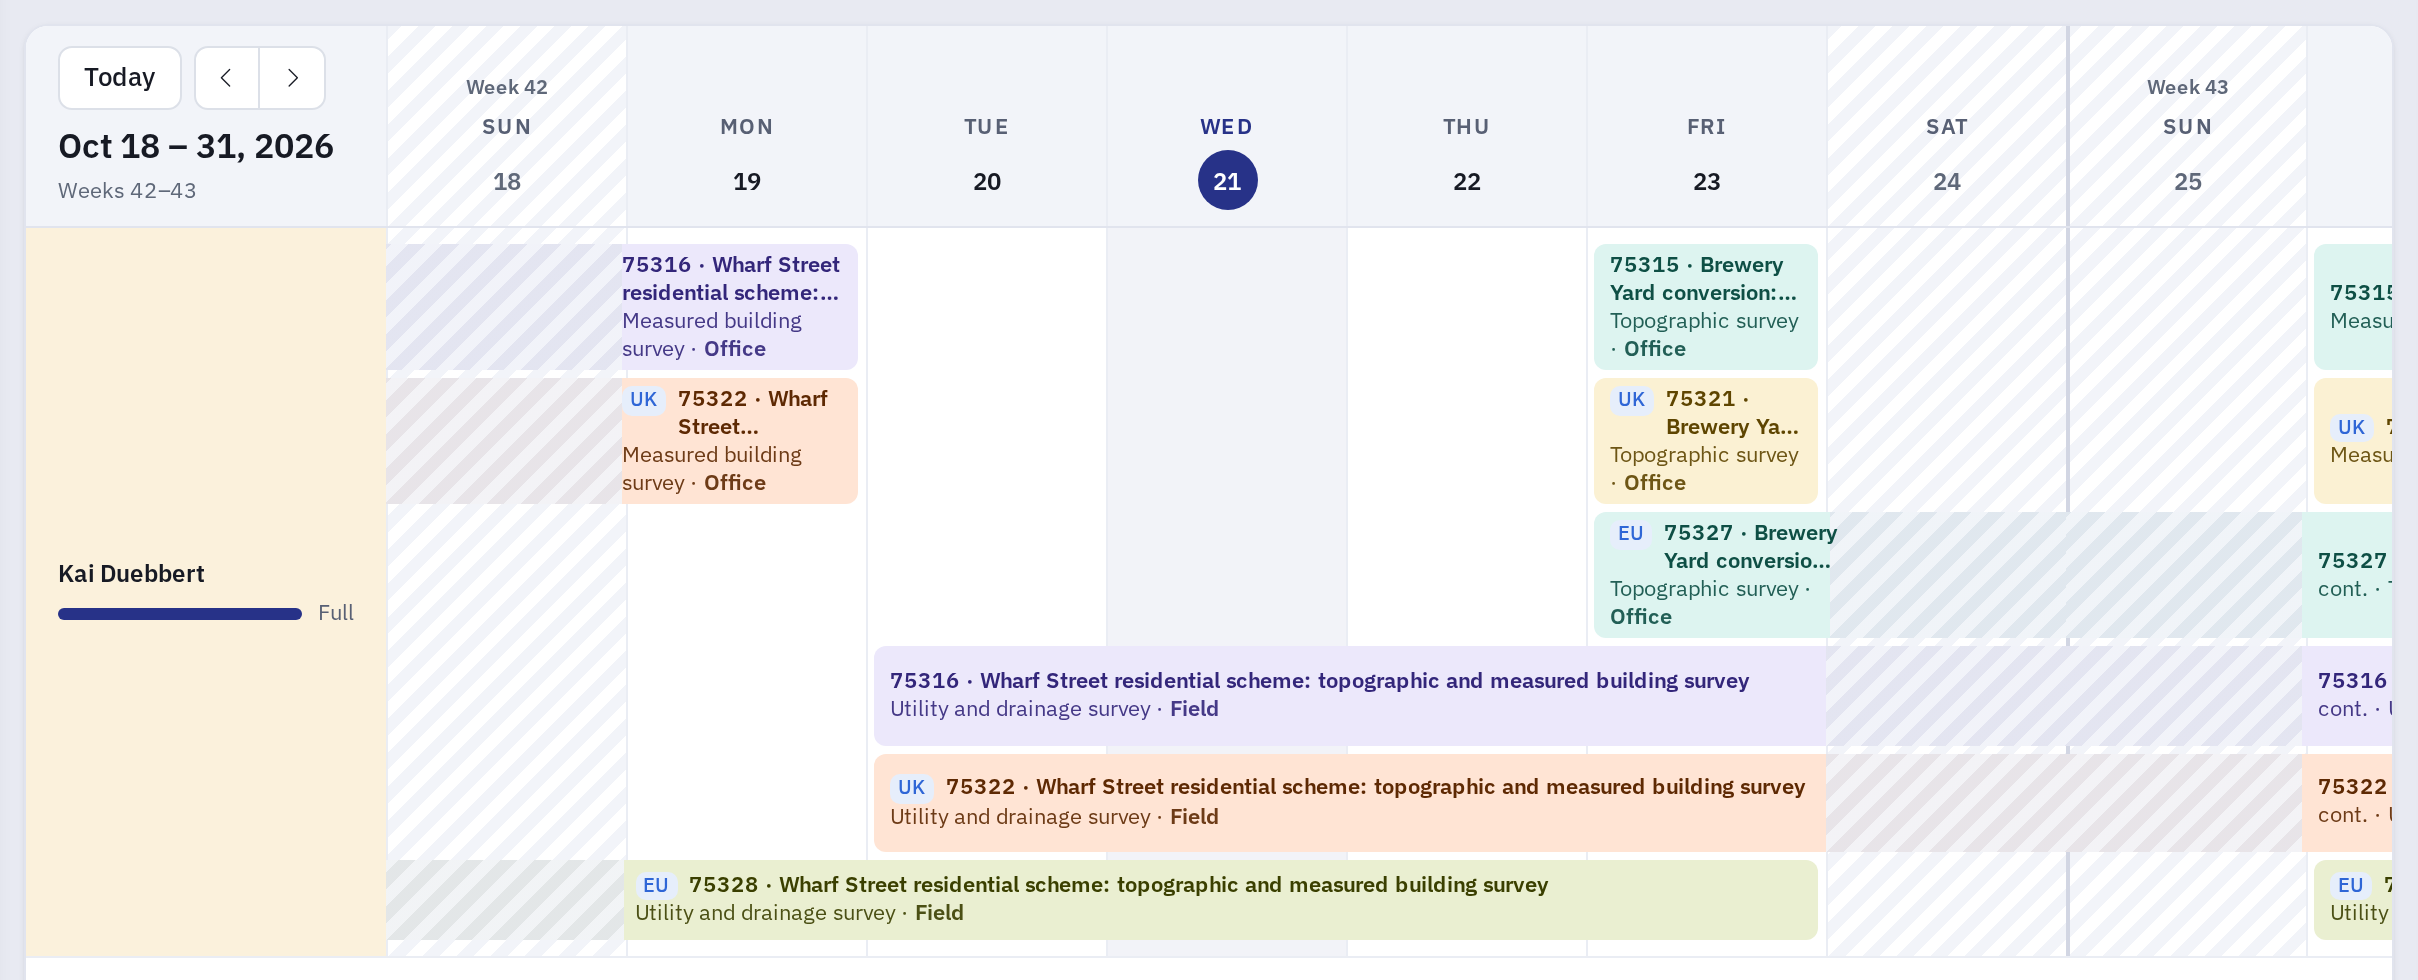
- Sort tasks by: If there is more than one task under a user, you can sort their sequence of appearance either by duration (tasks are ordered by start date, then longer tasks first) or by name (tasks are sorted in alphabetical order). Name sorting can allow you to sort tasks by urgency depending on their name i.e. urgent tasks can be prefixed with "1." and always appear on top. The image below shows tasks sorted by name. Task names appear under the project name.
- Row density: Switches between comfortable and compact rows.
- Show only operations staff: This option filters out people who have no scheduled days and no scheduled tasks, such as office staff who are not required to have tasks scheduled for them. This makes the schedule more compact and relevant for operations.
- Show weekends: Shows or hides the weekend columns.
You can navigate to earlier or later weeks using the arrows at the top left of the page. Click the date range to open a calendar and quickly navigate to a specific date.
